My First Time House Renovation 5 Months In
After being ghosted by builders last year my partner and I were adamant that we wanted to get the ball rolling with our house renovation at the start of this year. I’m happy to say that we have! So in this updated house tour of our UK small Victorian terraced home I show what has changed in my first time house renovation.
So, starting with the first phase of my house renovation which was …
Strip out and removal
Now with hindsight if we knew that we were going to be ghosted we probably wouldn’t have stripped out the house as early as we did. It meant that we were living with some pretty grim décor for quite a while!
There was nothing untoward with what happened with the builders it was just a case of them being too overwhelmed with work last year, which was a little frustrating as we felt like we’d been led a little down a garden path but there is a positive to it all which I’ll explain later.
We were also a little naive to how busy trades were going to be following lockdown, as it seemed like the whole nation was doing work to their home, but we took our time and removed and stripped out everything as standard such as the carpets, the many layers of wallpaper and any blown plaster.
Later, after numerous skip trips, we were on to the next phase which was …
Structural
You may not have seen that last year we had the roof and chimneys repaired as, whenever it rained heavily, we had a leak above the second bedroom. Once any external structural work has been completed, I would advise that any internal structural work is done next.
We were lucky that we had all our internal measurements spot on as we ended up having a rewire prior to the internal structural work. However, I’d strongly recommend internal structural work being done prior to a house rewire or first fix of plumbing.
The list of internal structural work that we had done was removing a chimney stack in the bathroom, all the fireplaces being opened, as well as moving our bedroom door opening.
The chimney stack that runs through the living room, main bedroom and front of the loft was completely clear of soot however when we opened the fireplace in the second bedroom and dining room this chimney stack was full to the brim with soot. Put down protective covers just in case, because when we pulled away one brick, we had an explosion of soot everywhere!
When we moved into the house there was a huge wardrobe that had been built against the wall in the middle of the room. In terms of layout the wardrobe, for us, was on the right side of the room, however it’s positioning in the middle of the wall made it really dominating. The more that I kept playing around with the layout and acknowledging our storage needs the more I knew that the wardrobe needed to be on the same side of the room but the door opening needed to be moved to allow enough depth for wardrobes to run along the wall streamlined and not block entry into the room.
So, the doorframe was moved to accommodate storage and now also matches the positioning of all the other upstairs doorframes and aligns nicely with the upstairs walkway. Moving the doorframe has also given a little more space for stairs when we convert the loft.
The dining room fireplace needed a lot of TLC and support, so we’ve put a big new lintel in.
It isn’t necessarily structural but the gas meter from the living room alcove cupboard has been moved to our outside side access. The professionals were able to drill underneath the living room floor to the outside side access to connect pipework and this has now freed up space in the alcove for our TV sockets and Wi-Fi storage etc.
Windows
I’ll group window replacement into this phase too as early on we had all our broken and fixed frame windows replaced with new uPVC sash windows as well as a new composite front door. The window supplier that we used offered 3 types of sash windows which were plain uPVC, uPVC wood effect and timber. We opted for the uPVC wood effect with brass accessories, and in the bathroom the sash window is half clear, half privacy glass.
Our composite front door is from the company Solidor, and the style of the door is called Edinburgh 2. The glass is in the style London Etch which has a clear border of glass around the privacy section which I chose to allow as much natural light into the hallway as possible, whilst also retaining a good level of privacy.
To allow more natural light in I asked for the pane of glass with our house number on, that sits above the door, to be inverted so that the number is frosted, and the rest of the glass is completely clear. The external side of the door is also a different colour to the internal side of the door to help with making the hallway feel brighter.
Quick tip: if you’re planning on having sash windows it’s a good idea to know a) what style architrave you’d like so that it can match with any other architrave that you have in the room i.e. around your doors, and b) know what window sill depth you’d like – this is applicable if you’re having shutters so that the window sill can align underneath your shutters.
First fix of plumbing
The first thing our plumber did was remove all the boxed in pipes that were no longer in use.
Then pipework was put in place for our cast iron radiators. Having already purchased the radiators and valves and having them in the house was ideal because the plumber was able to measure and ensure that the pipework was in the correct place ready for the second fix, which takes place after flooring is installed so it needs to be spot on.
As well as having everything in place for the radiators we also planned ahead by having pipes ran up and pressurised into the loft, ready for when we have the loft conversion and causing minimum disruption to other rooms.
First fix of electrics
I mentioned previously that there was a positive to us being ghosted by builders and it’s that it gave us plenty more time to thoroughly plan every detail, which I can’t recommend enough to do – don’t rush into decisions and take the time to plan and revisit plans before committing. Your future self will thank you!
Thorough planning has enabled us to cover all eventualities so that we shouldn’t regret anything in the future.
Again, we future proofed by having electrics channelled up into the loft and everything is in place for the rear extension and future works in the garden.
Quick tip: whilst I don’t advise purchasing items at this phase I would strong advise that you know the measurements of what you’d like to have and store them. This will help with planning and ensures that the placement of items such as electrical sockets are put in the right places. For example, our bed’s headboard is wider than the base of the bed and knowing the measurements ensured that beside sockets have been setup in the right place and are not hidden behind the headboard.
Next, we were on to the messy phase of …
Plastering
We’ve been living in our home during the house renovation and whilst the rewire is a little grim we still found it okay to come home after each day and sleep in the house (the rewire took less than 3 days). However, out of all the phases I’d strongly recommend moving out during the plastering phase as it’s such a messy job. I’m forever grateful that my in-laws kindly took us in during plastering because the house was a mess and there’s a constant damp to the air before the plastering has dried out.
I decided to keep the original curve on the top of the bedroom fireplaces, and I also loved the original curved edge on the chimney breasts, so we were able to retain that through using bullnose beading.
Once the plastering dried, we had a mammoth cleaning weekend and then were able to start …
Painting
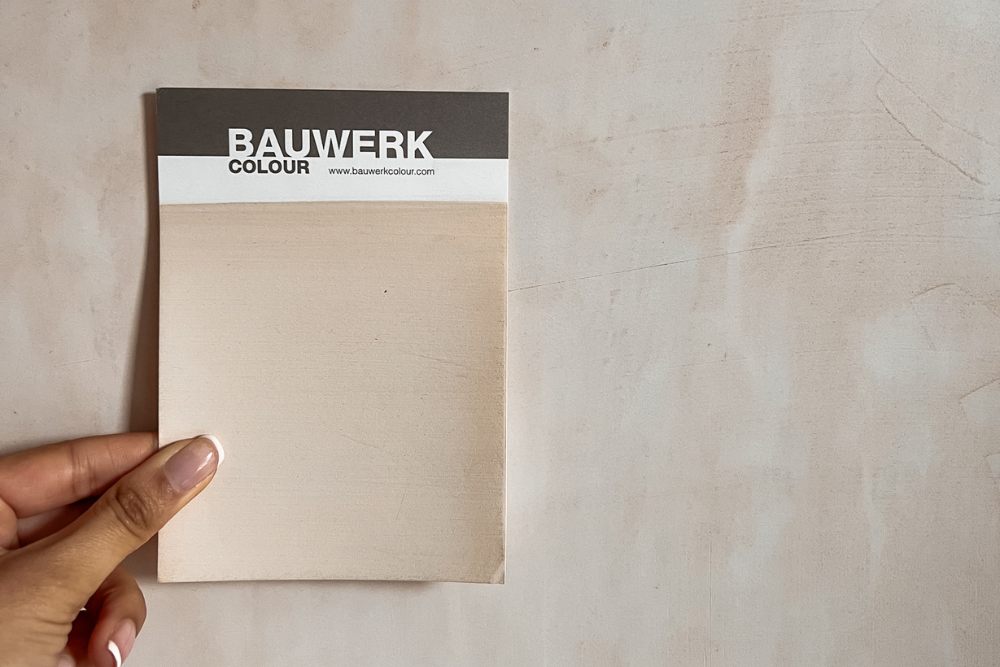
At the time of writing, we’ve done the mist coat and then the base coat ready for me to limewash paint the bedrooms and living room using Bauwerk. In the hallway I’m doing a colour match of a Little Greene colour with the Nordic paint company Tikkurila – I’ll be documenting the process so subscribe to my newsletter to be updated on that.
The reason why I haven’t yet lime wash painted the bedrooms and living room yet is the next phase is flooring and joinery – and there’s a high likelihood of scuffs being made on the walls so it’s best to wait for this work to be done prior to limewashing.
If you’d like to see more of my 2 bed Victorian terrace house renovation, you can watch my home renovation series on my YouTube channel.


