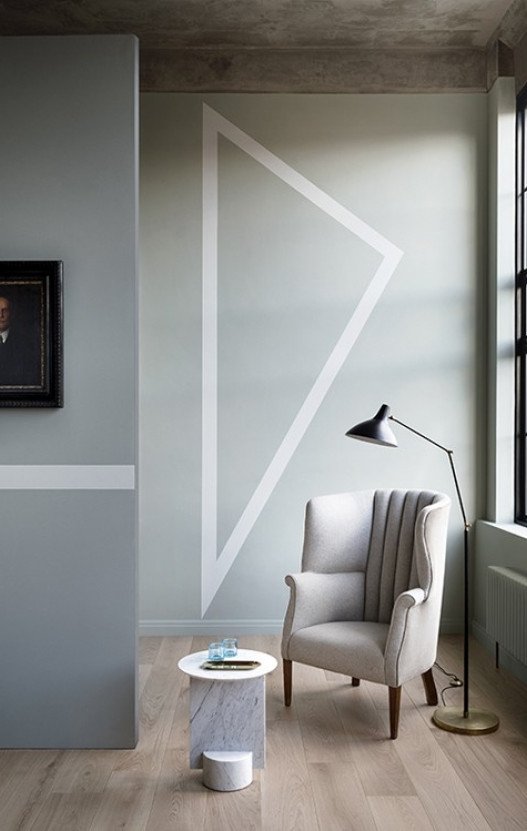
4 Easy Steps To Achieve Half Painted Walls
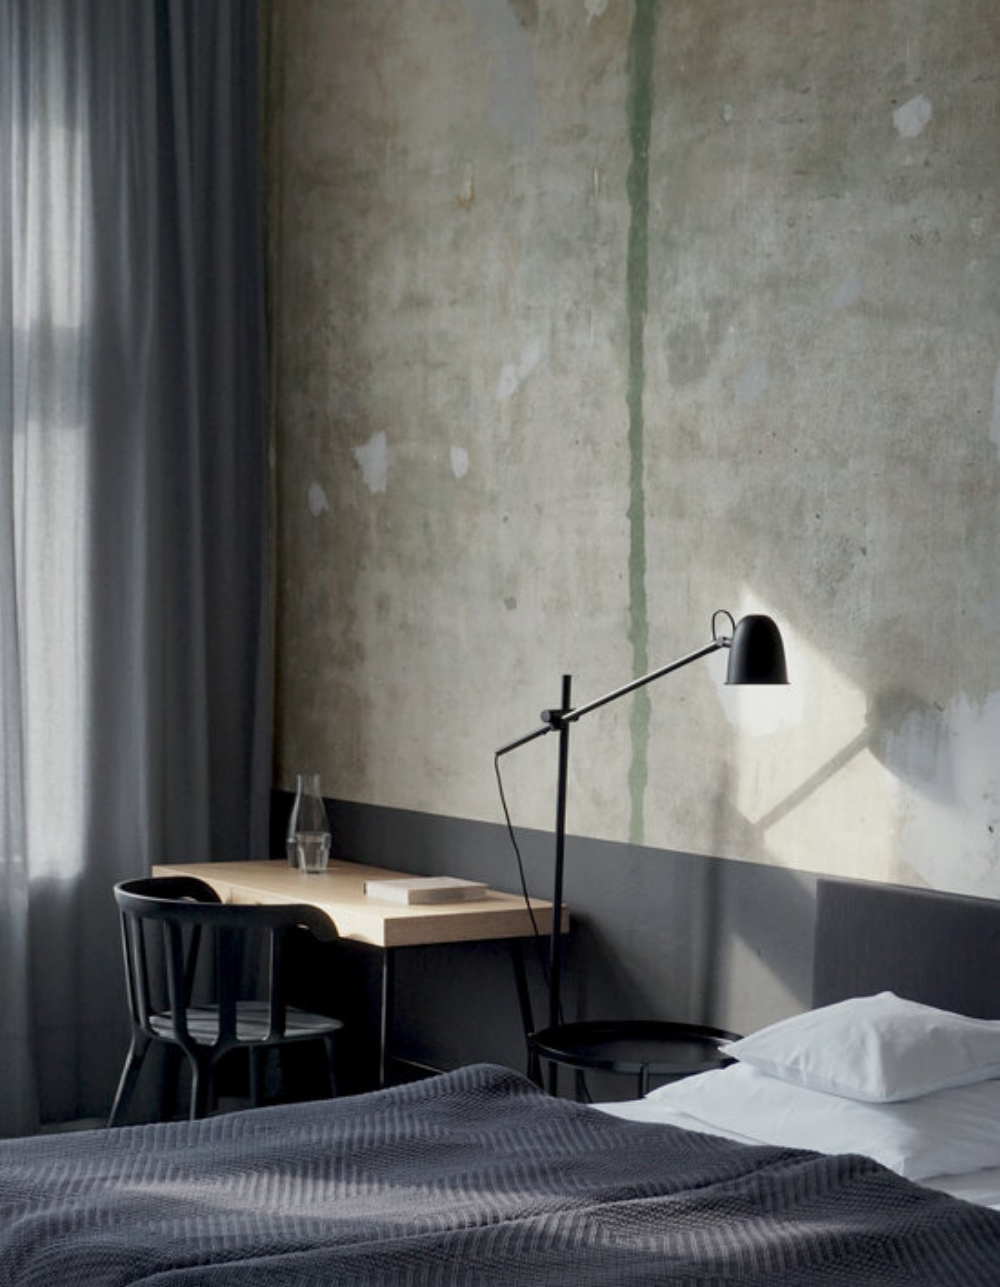
You may have seen half painted walls increase in popularity over recent years and there’s good reason behind why half painted walls are now a well-established decorating approach. Sometimes referred to as two-tone painted walls or split painted walls, half painted walls are a great decorating technique that suits various properties, and can create an optical illusion in any room.
In modern homes that usually have lower ceilings, taking the approach of a darker colour on the bottom half of the wall and a lighter colour on the top half of the wall, that continues onto the ceiling, will optically make the ceiling look higher.
In more expansive rooms, where a feeling of cosiness is trying to be achieved, reversing the previous description whereby the darker colour is on the top half of the room and ceiling will optically lower the ceiling, and help create a more snug room.
Half painted walls are also a great way of incorporating a darker paint colour that you like without having to commit to applying the colour to the whole room, which may dim the space. The style also presents the opportunity to have fun with different colour combinations that inject personality and create a dynamic space.
How to achieve half painted walls
As previously mentioned, half painted walls are great for making ceilings appear higher. The reason being, if you were to take the conventional approach of painting the whole wall from the floor up to the ceiling, you are essentially creating a distinct line to see where the wall ends and where the ceiling begins.
For smaller rooms the conventional paint approach also creates an outline of the ceiling, which visually mirrors the floor space, therefore emphasising the small size of the room.
So by opting for half painted walls you allow for the ceiling’s edges to visually blur into the walls of the rooms, creating the illusion of a higher ceiling and a larger space when using lighter colours on the top half of the wall.
Here are four easy steps to help you achieve a single dividing line between two different paint colours.
Step 1
Always start with the lightest colour first.
Regardless of whether you’re going lighter on the top or the bottom, always start by painting the area of the wall that will be the lightest colour.
Overlap the paint slightly into the area that will have the darker paint and allow for the lighter paint to dry before moving on to the next steps.
Note: if your walls have been freshly plastered, prior to step 1 it will help to mist-coat the walls. Mist-coating enables the fresh plaster to absorb the mist-coat first and provides a base for the paint to sit on.
Step 2
In order to get a perfect straight line you can either use a laser level or a long spirit level.
With both options ensure that you first map out your lines. With a laser level you’ll be able to use this as a guide to lay down your frog tape, and for the spirit level it’s best to pencil the line first before applying frog tape.
Always take a step back to view and ensure your lines look straight before proceeding. Don’t solely rely on the spirit level or laser as houses are rarely 100% level on all sides.
Step 3
Once you’re happy that your lines look level lay down your frog tape if you haven’t already done so.
Yellow frog tape is your best friend in this situation as it’s going to help achieve a clean crisp line. The yellow option has lower adhesion so is ideal for surfaces that may damage more easily such as freshly painted walls, wallpaper and finished wood.
The green option has a medium adhesion so works better on walls that have been painted for a longer period of time, and works better on surfaces such as glass, metal, stone or unfinished wood.
Step 4
To ensure a crisp line you should always remove the tape whilst the paint is still wet. Therefore, use the darker paint colour and a brush to cut into any areas first such as sockets, skirting, corners and edges etc. if applicable.
Then roller paint the darker colour onto the wall overlapping slighting onto the tape. Apply a second coat if needed and then slowly remove the tape whilst the paint is still wet.
Remember to slowly pull the tape along the wall rather than out from the wall.
Then step back and marvel at your newly half painted walls!
Image courtesy of krea.tina
How high should a half painted wall be?
There is no set rule for how high a half painted wall should be but here are a few tips to help you decide what the best height is for your half painted wall.
Half painted walls hallways
For ease this decorative approach has been commonly called half painted but the reality is the word ‘half’ is slighting deceiving because it implies a 50/50 split. However, in relation to deciding how high you should paint the walls it completely depends on the rooms size and décor.
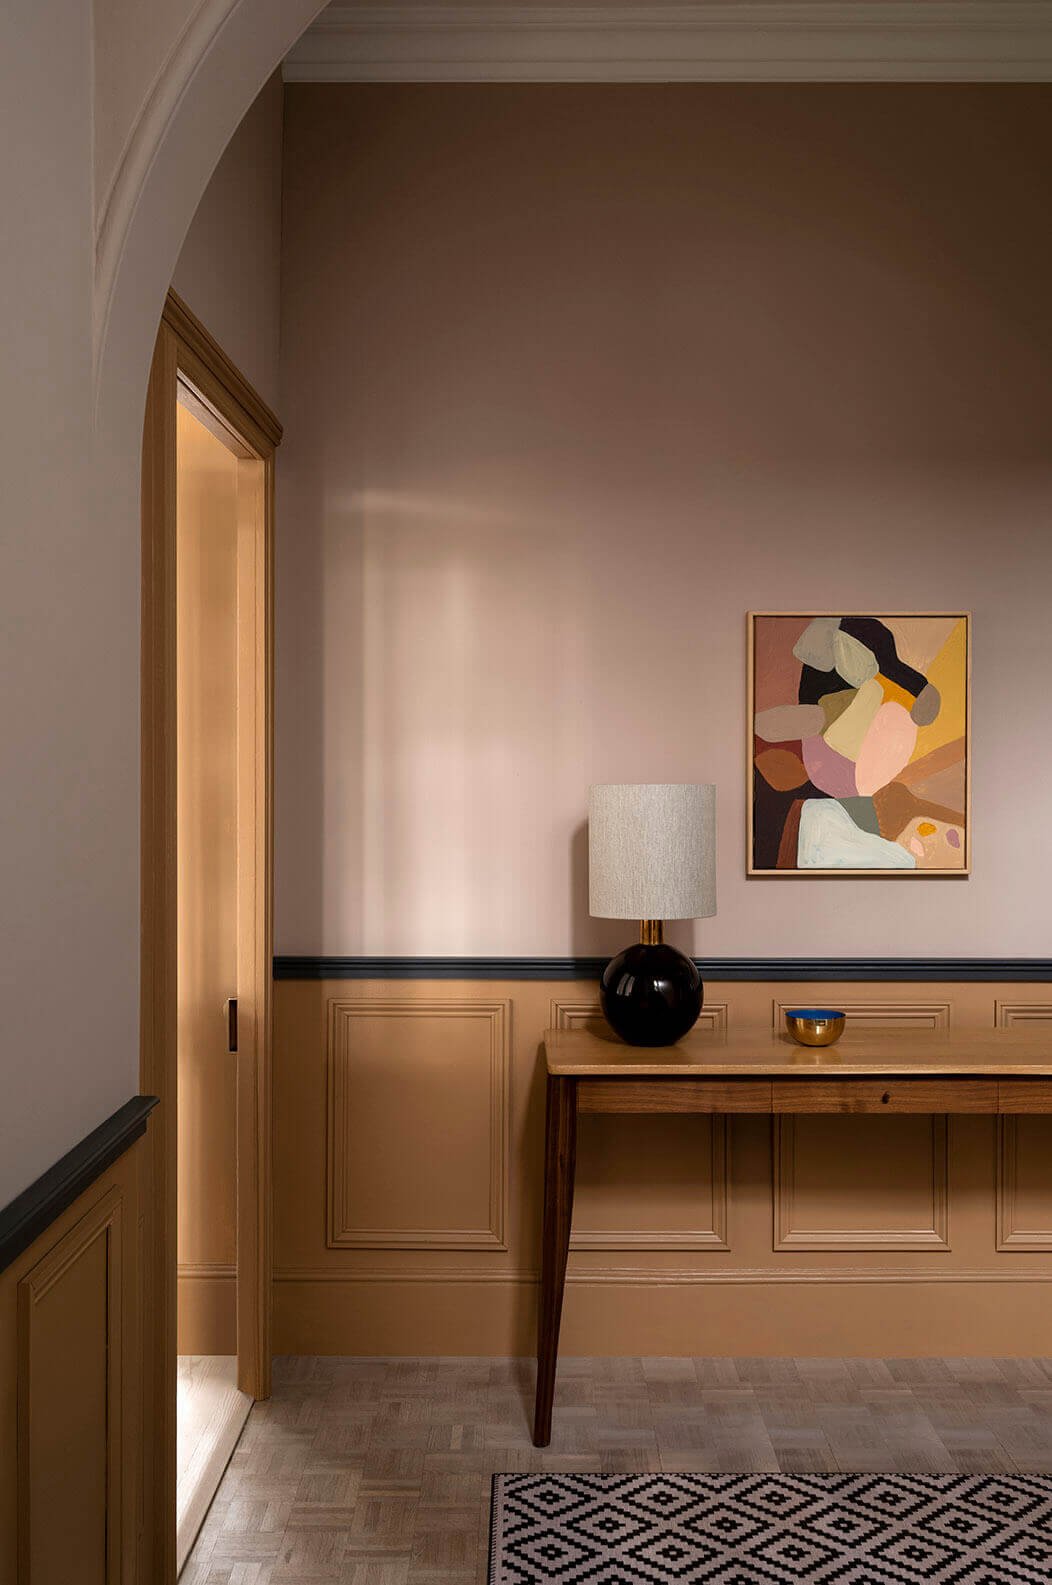
Due to hallways and landings usually being the narrowest spaces in the house the best approach with half painted walls in a hallway is to either go a third or two-thirds high.
A two-thirds approach is equally as impactful, and looks especially smart when artwork is hung overlapping the dividing paint line. However, for those with very narrow hallways be mindful that having adjacent walls with a dark colour two-thirds high can optically enclose the space further. Therefore, going a third high with the darker colour may be better suited – plus it’s always easier to try this approach first to see if you like it and then add more of the darker shade if you wanted to go higher.
For more hallway inspiration take a look at these 8 seriously stunning hallway, stairs and landing ideas.
Half painted walls bedrooms
Typically in Victorian or Edwardian properties pictures rails or dado rails feature within the bedrooms, as well as the ‘reception’ rooms.
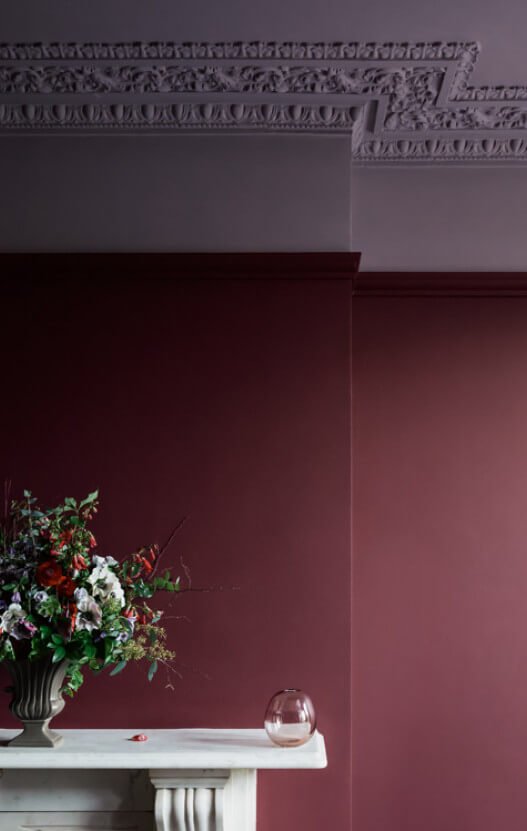
With typically higher ceilings the key approach is to complement the proportions of the room and highlight the ceiling height, therefore painting up to, as well as including, the picture rail or dado rail is a good way of ensuring the proportions and visual height of the ceiling is retained.
For rooms without a picture rail or dado rail a third or two thirds split in a bedroom can be extremely impactful but be mindful that the varying heights of fireplaces and different furniture can make the room look busy, disjointed and not as visually appeasing.
So, a way to diminish a disjointed look is to ensure that the dividing line sits slightly above the majority of the lower level furniture, or include a dividing line above the furniture for a cohesive look, like in this example.
There’s also the option to either paint the furniture the same colour as what’s being used on the wall so that the items recede into the wall, making everything looked streamlined.
Or another approach is to either select or paint furniture in a complementary colour, to the wall colour behind, or (for the bold amongst us) select or paint furniture in a contrasting colour to the wall behind, so as deliberately make the wall a backdrop that makes certain pieces of furniture visually pop in the room.
Half painted walls kitchen
Within a kitchen it’s usually visually pleasing to have the dividing line of the two paint colours aligned with either the worktops, or with the bottom line of the wall cupboards.
Complementing existing lines within the kitchen will help to ensure that there aren’t varying lines in the room that would make the room look busy and fragmented.
Having the one line running throughout the room will draw the eye around the room, without interruption, helping to make the room look sleek and larger.
Half painted feature walls
Now you know the steps to half painted walls the possibilities are endless. These examples showcase some creative approaches that can be achieved with just paint and tape.
Half painted walls, or cupboards for that matter, needn’t be horizontal as shown in this kitchen with a green colour stripe down the cupboards.
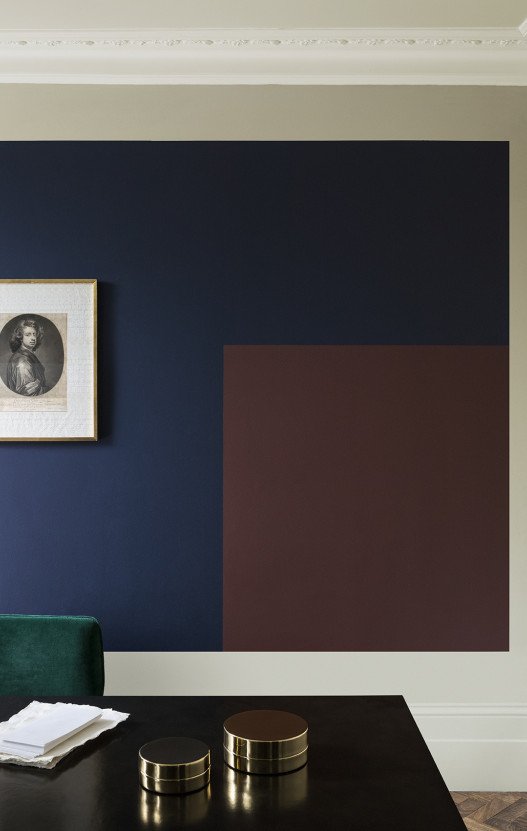
The same steps can also be applied to create characterful walls that can either be a statement in its own right or coincide and complement hanging wall art.
The only limit is our imagination - and how savvy we can be with some tape! Creating interesting shapes in alcoves is also another option.
Images courtesy of Paint & Paper Library.
I hope the steps help you and that you’ve found inspiration in the examples of half painted walls within various rooms. If you do attempt your own half painted walls let me know how you get on. I love to see everyone’s approach to decorating.
If you’d like to see what decorating approach I take within my own 2 bed Victorian terrace renovation watch my renovation series, here.


